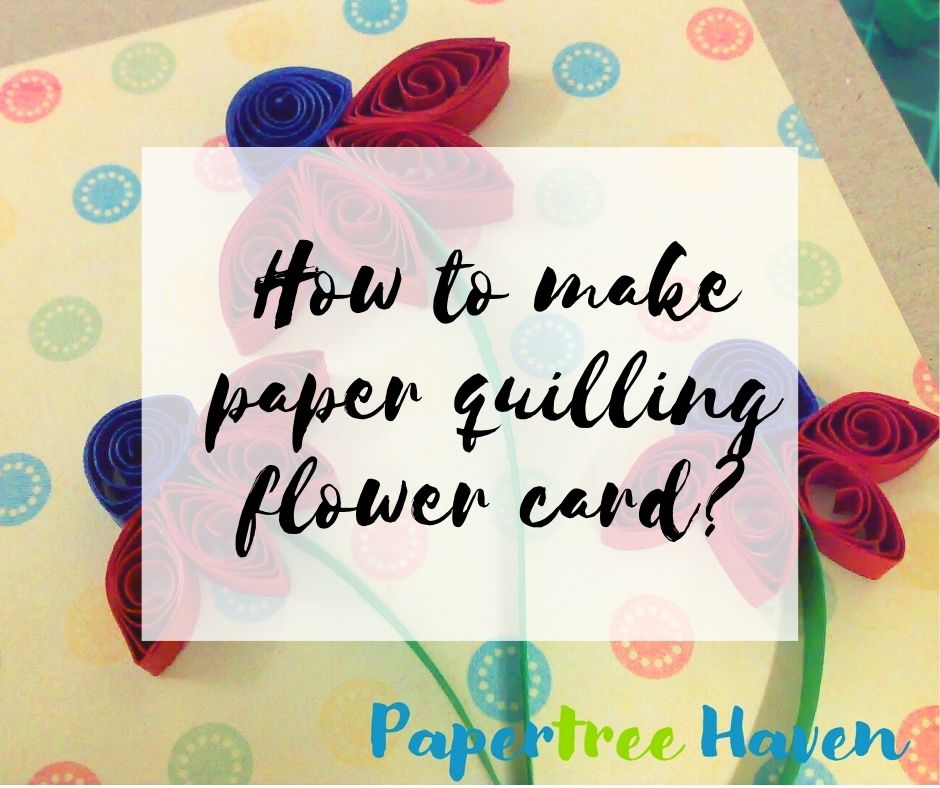
Have you been wanting to start your journey in paper quilling and don’t know where to begin? Have you been searching for an easy paper quilling flower design, to begin with, or just looking for inspiration for a new craft project? You’ve reached the right place.
What is Paper Quilling?
Paper quilling is a paper crafting technique in which you roll paper strips into coils and pinch them to create different shapes to assemble them together into a beautiful design.
Paper quilling flower tutorial
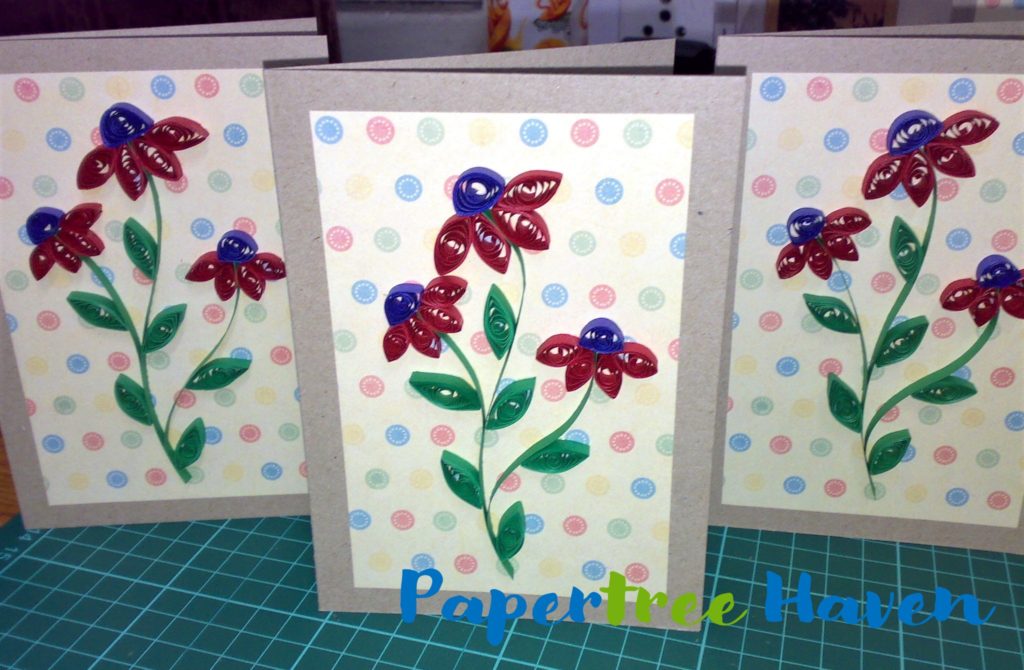
This is a simple quilled card design that works very well for beginners. It requires a few quilled pieces which makes the design easy to assemble and fast to complete.
Below you will find a step-by-step tutorial on how to make this card. Let us start with the tutorial.
What will you need?
- Cardstock (my card size is 4″ x 6″)
- Paper Quilling Strips
- Slotted Quilling Tool
- Scissors
- Craft Glue
- Paper cutter (if you cut quilling strips out of a colored paper)
How to make a quilled coil?
Quilling designs use two types of coils : Tight coil and Loose coil
To learn how to make these coil, click here to view the video tutorial by K4Craft.
How to make the quilled pieces and assemble the paper quilling flower design?
The Stems
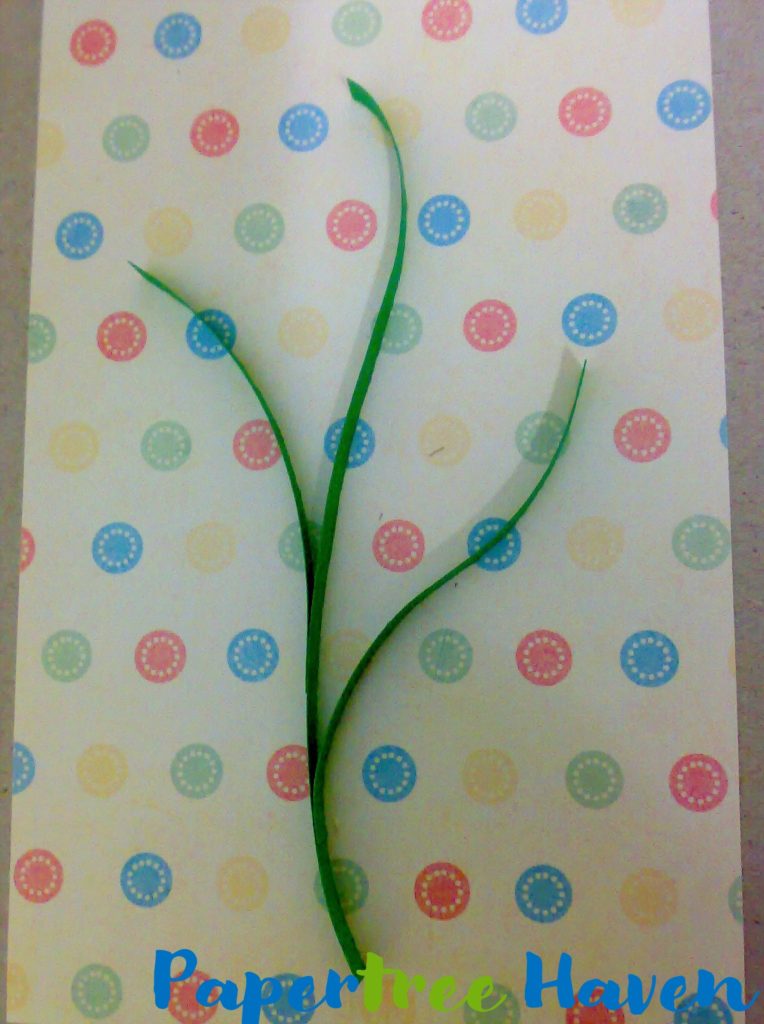
Cut 1 green strip into 3 pieces of different sizes. This may vary depending on the card size and the desired look. Turn the ends of the strips with your fingers to create the curve.
Apply glue to one side of the each strip and stick all the three pieces together forming the stem. Now apply glue to one end and gently stick it to the cardstock.
The Bud
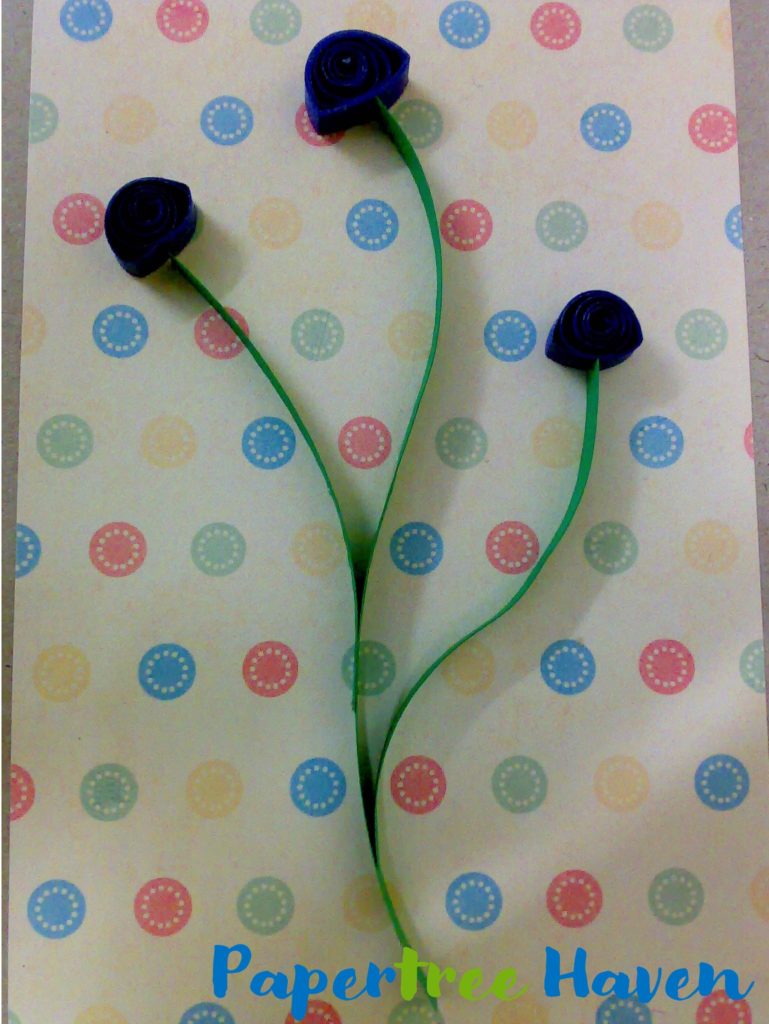
Its now time to make the buds. Use 1 entire strip for the larger flower’s bud (top) and half a strip for the smaller ones.
Roll the strip into a slightly loose coil and glue the end forming a semi-tight circle. Now press it from two points to form the shape of this bud. Adhere it to the tip of each stem.
The Petals

The flowers are of two different sizes. So we need 4 pieces of big petals and 8 pieces of small petals.
Use 1 strip for the larger petals and half a strip for the smaller one. Roll the strip into a loose coil and glue the end forming a circle. Now press one side for the pointed look and repeat on the other side.
Apply glue on one side of the petal and adhere it right under the bud as shown above.
The Leaves
To form the leaf shape follow the same steps as the flower petal. We need 6 quilled pieces. Here I have used 1 strip for each leaf.
Apply glue on one side of the leaf and adhere to the leaves as desired. Your card is ready!
Paper quilling, though a slightly time-consuming craft, is very easy to make. It has a charm of its own and adds a wow factor to your project.
Leave a comment to give me your feedback, share your card, or your experience trying out this design.
You can also try these simple paper quilling roses as your new project.