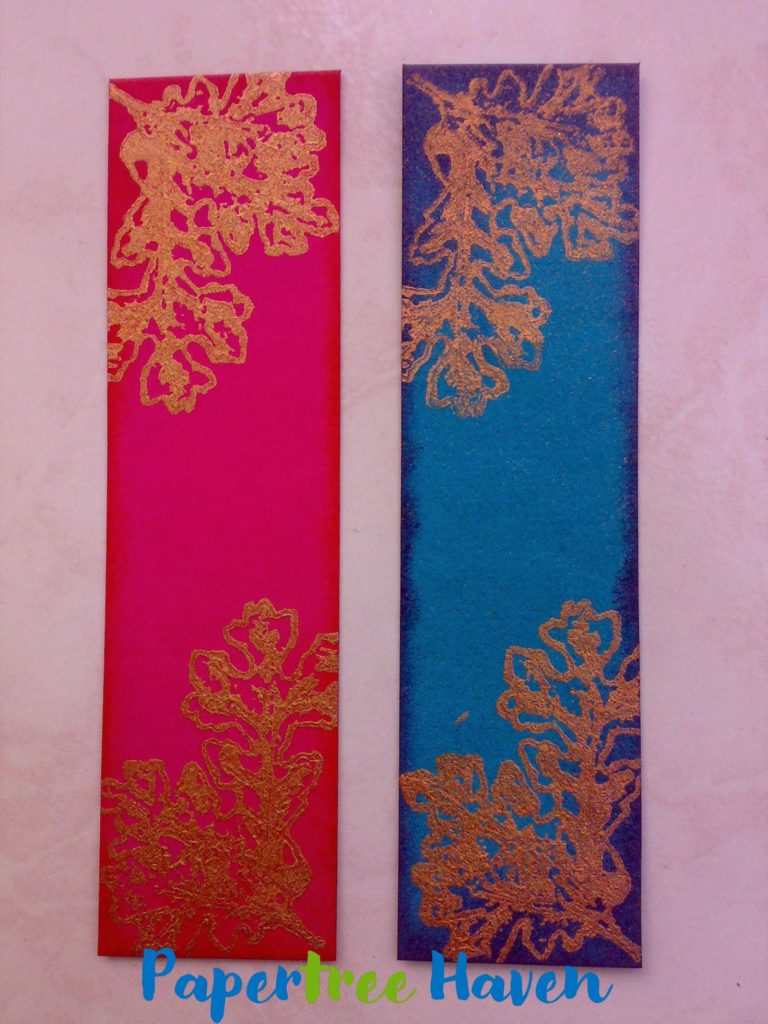

Why make Handmade Bookmarks?
Handmade bookmarks are an evergreen gifting option for all ages. Unlike a greeting card which will be put away, bookmarks come under the useful gift category.
They are easy to make and require lesser time to complete. This makes handmade bookmarks a great option for kid’s crafts as well.
Let us see how to make these versatile handmade bookmarks.
What will you need?
- Cardstock (I’ve used the size 2″ x 8″)
- Paper cutter/ Scissors
- Stamps
- Ink pads or Acrylic paints
- Sponge
- Ribbons
- Hole punch
- Embellishments/ Stickers/ Felt flowers
- Glitter Pens/ Markers/Sketch Pens/ Color Pencils/ Crayons
What are the techniques used?
Stamping
Stamping refers to the technique in which ink or paint is used on a rubber or acrylic stamp (images, alphabets, numbers, etc.) to stamp it on paper or other mediums like canvas, wood, fabric, etc.
Sponging
Sponging refers to dabbing cardstock with ink or acrylic paint using a piece of sponge. Simply pat the sponge piece on the ink pad and gently dab it on the card stock.
If using acrylic paint, gently dab the sponge on the paint and remove the excess paint by dabbing it on scrap paper first before using it on the cardstock.
Masking
Masking is a technique where a portion of the card stock is covered with a paper/object to block the ink/paint from reaching that part.
Designs for handmade bookmarks
Double layer bookmark
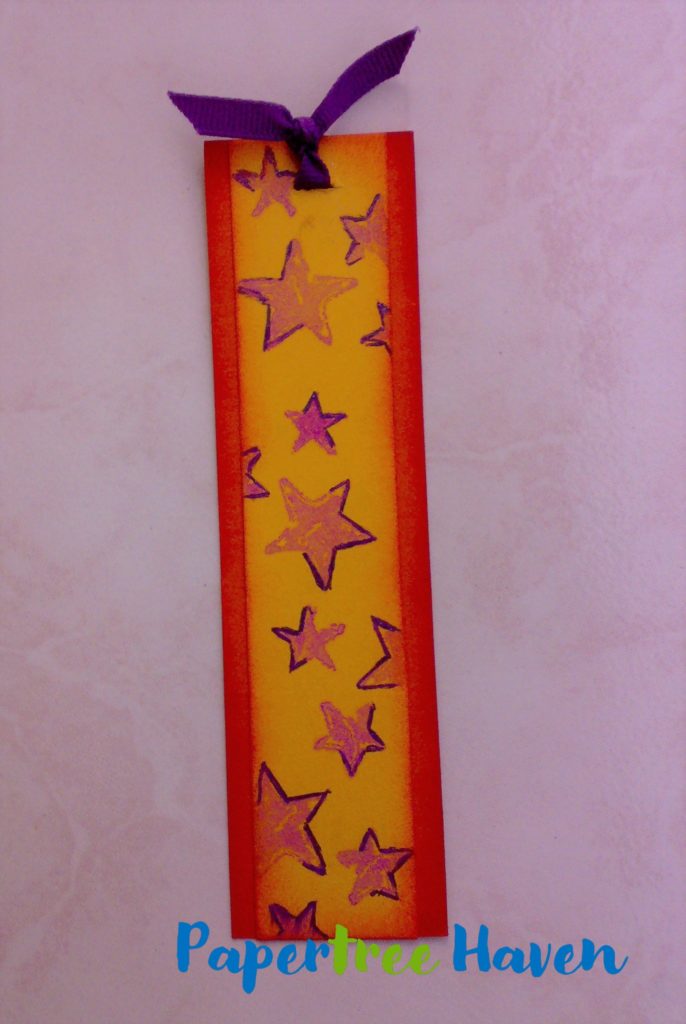

Techniques used: Stamping, Sponging
Make this quick and easy double layered (yellow cardstock on orange base) bookmark by stamping a simple design and sponging the borders of the cardstock.
Partially bordering a stamped image (stars) with glitter pens highlights the design. Finally, punch a hole on top and tie a ribbon to finish this bookmark.
Flower Power
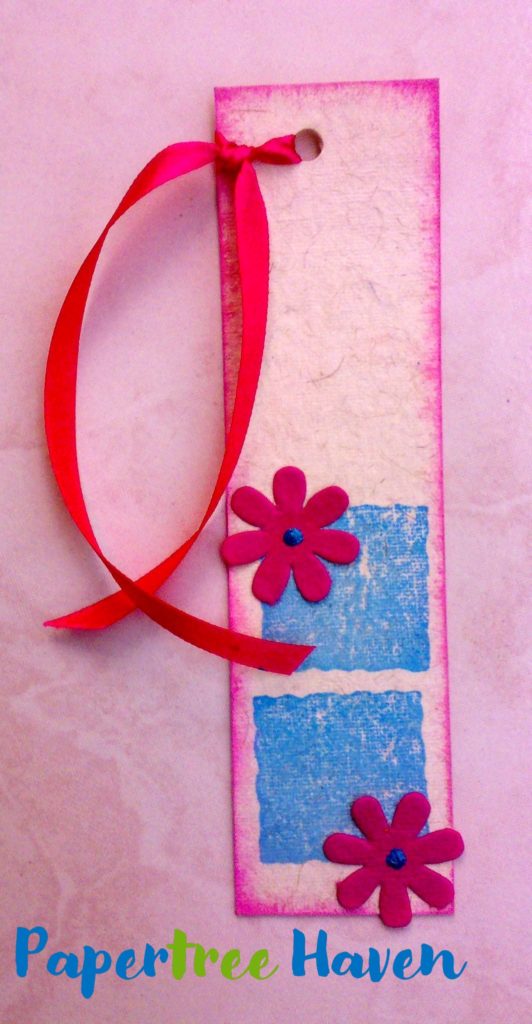

Techniques used: Stamping, Sponging
Stamp a solid design to make a background, add embellishments of your choice and sponge the border of the bookmark.
Finally, punch a hole and add the ribbon.
Vibrant Vibes
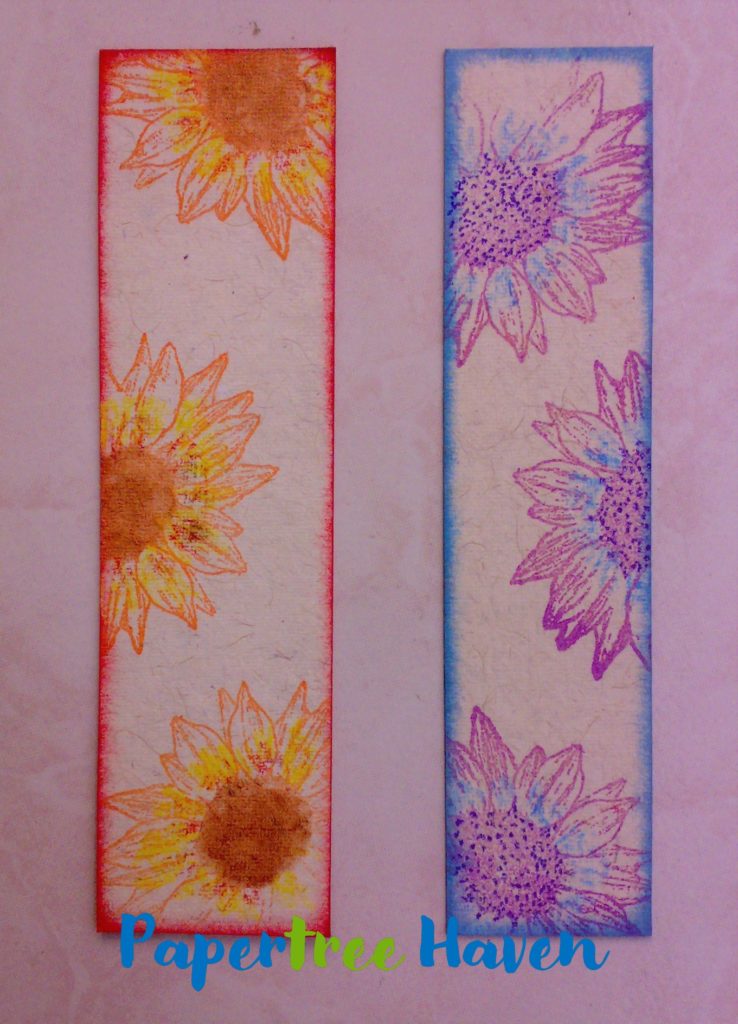

Techniques used: Stamping, sponging, shading
Stamp a flower design, highlight the petals by shading them with a lighter color using glitter pens or color pencils and a sponge border.
Sponging is optional but I personally feel that it gives a finishing touch to the project.
Simply Swirls
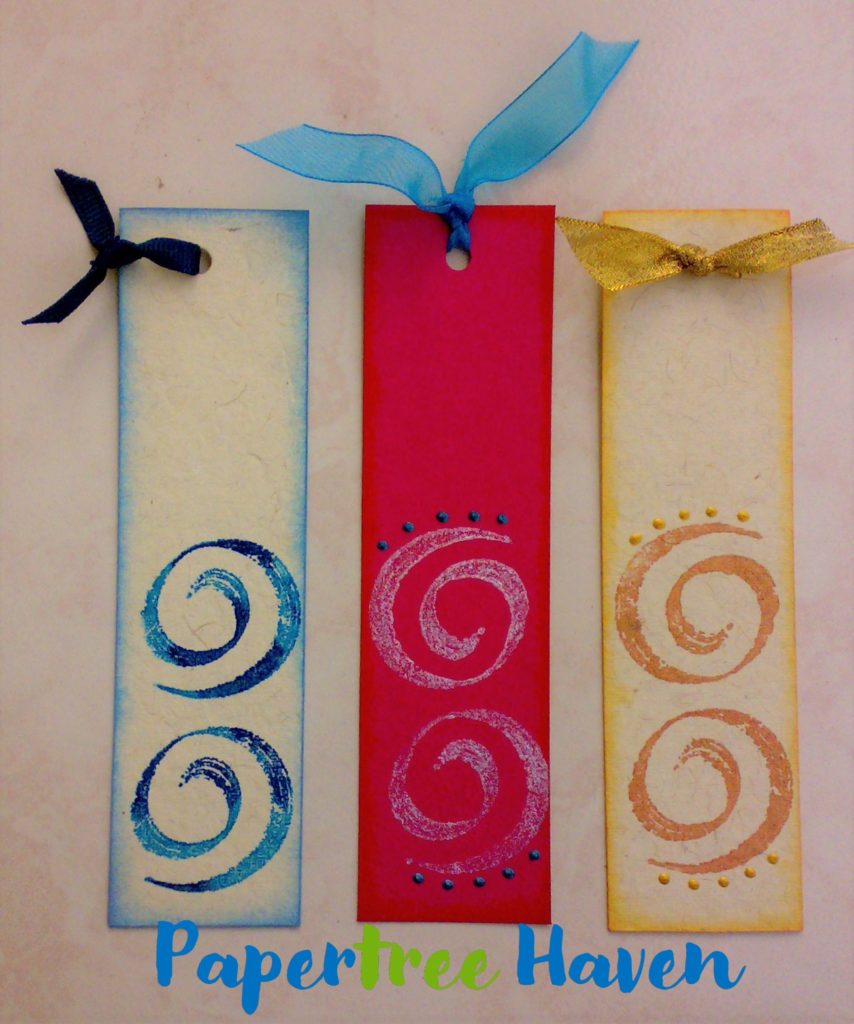

Techniques used: Stamping, sponging
Just another idea with a similar template. Feel free to add more embellishments, stickers, etc.
Serene Sunset
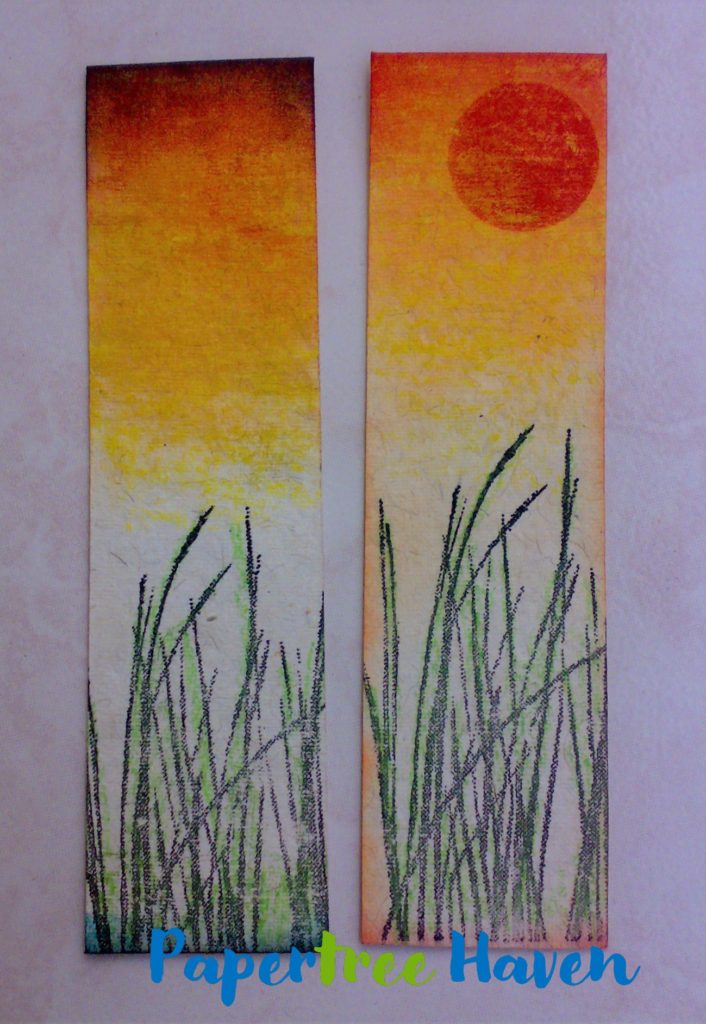

Techniques used: Stamping, sponging
This quick scenery design makes a wonderful bookmark and looks special.
Choose a stamp that has foliage in it.. grass, tree, or plant. Stamp the image in black as it is a sunset scenery and give a shading effect to the grass in green.
For the sky, use an inked sponge and slide it on the cardstock. Start with the lightest color yellow and work your way upwards with orange and finally black or violet. Moon can be simply stamped using a circle stamp or drawn.
The Night Sky
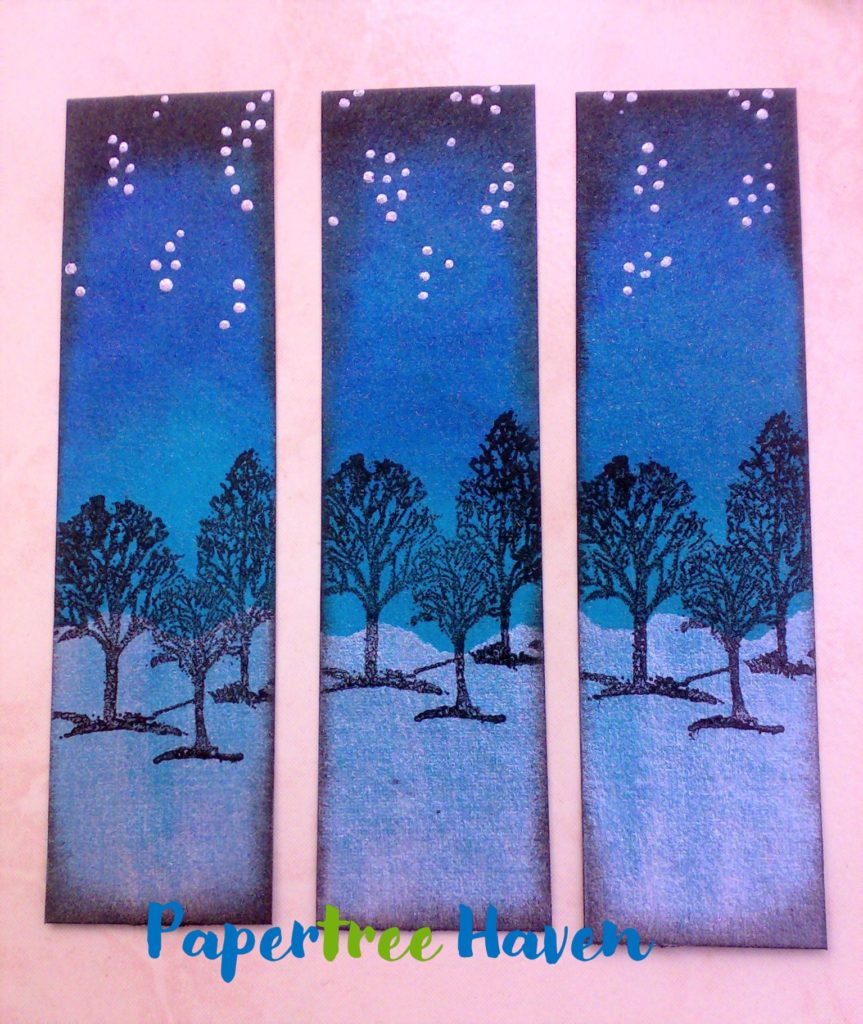

Techniques used: Stamping, sponging, masking
Saving the best for the last. This is my favorite design.
Here I have used blue cardstock to reduce the sponging effort for this night sky bookmark.
Mask the upper part of the cardstock and dab the silver/white paint with a sponge. Remove the masking paper (stick notes work well). The snow is ready.
Now position the tree stamp in such a way that it overlaps the snow ground. Create the night sky by sponging dark blue and work your way up with black.
Few more ideas
Bookmarks being a useful product can make a great alternative to greeting cards and be used not just as a gift but also express a simple thanks or gesture of appreciation. These handmade beauties are quick, easy, and personal which is a win-win situation for the giver and receiver.
Hope you liked these ideas for handmade bookmarks and will try them. Please share your comments and feedback.
You can check out simple handmade greeting cards for more inspiration.
Thanks.


